Because of the low stand-off of QFN components (around ½-1 mil) common on printed circuit boards (PCBs), it is very difficult to get enough contact time with a cleaner to break through the flux dam and break down all of the residues. For proper cleaning, the following factors impact the effectiveness of the process: solvent match, contact time, and agitation.
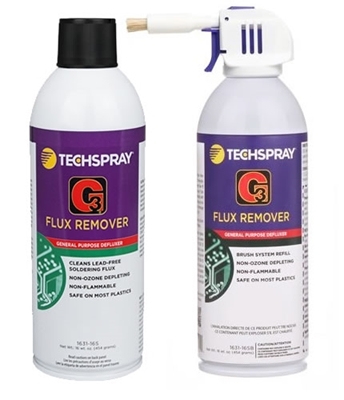
As a standard service we provide customers, Techspray’s lab (Techlab) helped troubleshoot this challenge for a mobile device manufacturer. They were having trouble cleaning RMA tacky flux from under QFN using a solvent aerosol. There was no question that Techspray’s product, G3 Flux Remover (part #1631-16S), was able to solvate the flux, but we wanted to evaluate different techniques to find the best for cleaning under such a low stand-off.
G3 Flux Remover cleaning effectiveness was already established with a static cleaning test. The soil, in this case an activated RMA tacky flux, is soaked in room-temperature cleaner for 30-seconds without agitation. If the flux residue is fully broken down and running off the substrate, solvency of the soil is established.
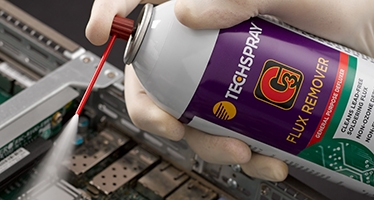
G3 Flux Remover has low surface tension to allow it to flow under tight stand-offs. The high pressure spray of the aerosol provides contact and agitation, so it is a matter of finding the right impingement angle, spray position, and spray duration. These were the three variables that were tested.
Testing Manual Cleaning Protocols for QFN Components
- Board angle (A in fig 2) was constant at about 30°
- Final flush was constant, but tested at 3 and 5 sec.
- Spraying 4 sides of component, 2 adjacent sides for longer period of time, and diagonal
- Different spray times: 3, 5 and 10 sec.
- Straw angle (B) at 10° and 30°
- Oscillating straw or centered
- With and without a pre-rinse
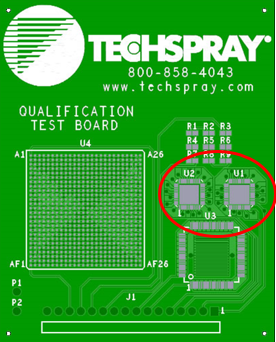
Fig 1 – TechLab PCB
Test Results
- Board angle (A) - @30°
- Straw angle (B) - @10°
- 10 sec spray on 1 side of component, then immediately spray the adjacent side for 10 sec
- Slightly oscillating straw along the side of the component as it is being sprayed seems to improve performance.
- Follow up quickly with a 5 second rinse – spraying over and around component while holding board at an angle. This helps flush out loose residues still suspended in solvent.
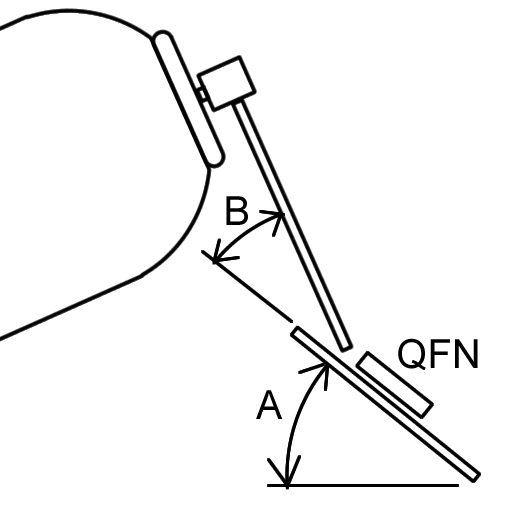
Fig 2 – Aerosol positioning
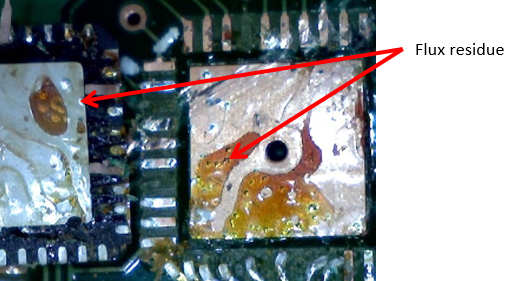
Fig 3 – Control / uncleaned QFN & pad
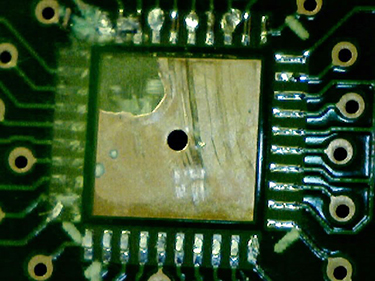
Fig 4 – Cleaned pad U2
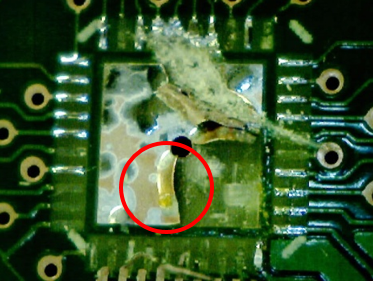
Fig 5 – Cleaned pad U1 (note flux residues)

Fig 6 – Cleaned underside of QFN from U1 (note flux residues)